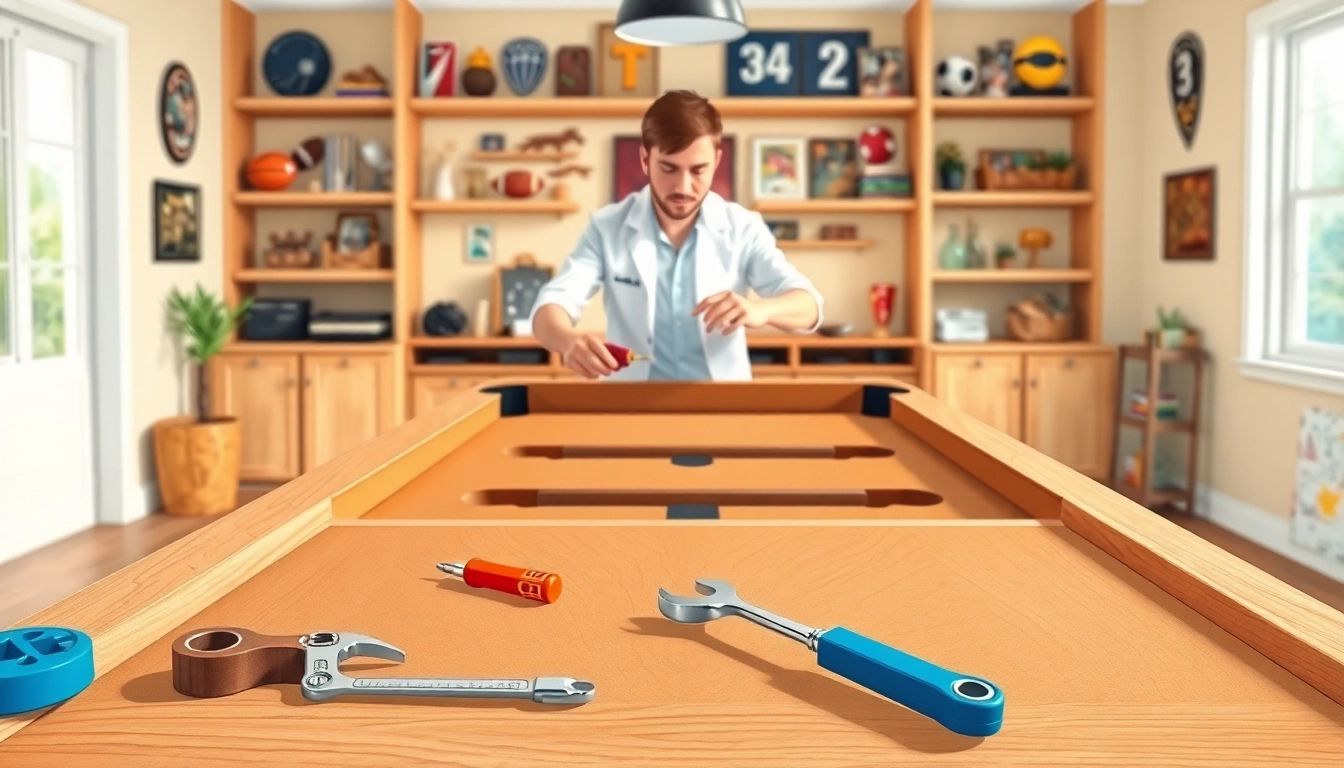
Understanding Pool Table Disassembly
Disassembling a pool table can be a daunting task, but with the right knowledge and tools, it can be done safely and efficiently. Whether you are relocating your table to a new home or simply restoring it, Pool Table Disassembly is essential for maintaining the integrity of the table and ensuring its longevity.
Importance of Proper Disassembly
Understanding how to properly disassemble a pool table is crucial for several reasons:
- Prevent Damage: Incorrect disassembly can lead to damage to the slate, cloth, or frame of the table.
- Ease of Transportation: A disassembled table is much easier to move and transport, especially through tight doorways and staircases.
- Repair and Maintenance: Disassembly allows you to inspect and repair the table structure, cloth, and cushioning effectively.
- Reset Level: After disassembly, level adjustments can be made, ensuring optimal gameplay when reassembled.
Tools Required for Pool Table Disassembly
Having the right tools is essential for a smooth disassembly process. Below is a list of tools typically required:
- Wrench: To unscrew bolts and fasteners.
- Power Drill: Useful for removing screws quickly.
- Staple Remover: To remove staples from the cloth.
- Pliers: For gripping and pulling out any stubborn components.
- Rubber Mallet: To gently tap components that may be stuck.
- Safety Gloves: To protect your hands while working.
- Measuring Tape: Helpful for ensuring the right reassembly dimensions.
Common Mistakes to Avoid
While disassembling a pool table, here are some common mistakes to avoid:
- Rushing the Process: Take your time to ensure each step is performed correctly.
- Forgetting to Label Parts: Labeling components can make reassembly significantly easier.
- Not Having Proper Help: Always have someone assist you with heavy parts like the slate.
- Ignoring Safety Measures: Ensure you utilize safety gear to prevent injuries.
Preparing Your Pool Table for Disassembly
Assessing the Table’s Condition
Before starting the disassembly process, assess the condition of your pool table. Check for:
- Surface Wear: Inspect for rips or tears in the cloth that may need repair.
- Structural Integrity: Ensure that the frame and legs are stable and not damaged.
- Slate Condition: Look for cracks or chips that might worsen during disassembly.
Gathering the Right Tools and Supplies
As mentioned in the previous section, gather all necessary tools before you begin. In addition to basic tools, consider having:
- Soft cloths for cleaning
- Markers for labeling each component
- Ziplock bags for screws and small parts to prevent loss
Clearing the Work Area
Make sure your work area is spacious and free of clutter. This will help you move around freely and ensure a safe environment while disassembling your table. Move any furniture or items that may obstruct your path.
Step-by-Step Process of Pool Table Disassembly
Removing Pockets and Accessories
Start by removing any pockets or accessories attached to the pool table:
- Use a wrench or screw gun to remove the screws holding each pocket in place.
- Carefully detach any accessory items such as cue racks or ball racks.
- Place all removed items in a labeled bag for easy reassembly.
Unscrewing Rails and Bolts
Next, move on to disassembling the table's rails:
- Unscrew the bolts connecting the rails to the table frame.
- Carefully lift each rail off, ensuring not to damage the cloth.
- Wrap the rails in soft material to prevent scratches and store them safely.
Handling Slate and Table Structure
The slate is one of the heaviest components, requiring careful handling:
- Remove the screws holding the slate in place with a power drill.
- Gently lift one side of the slate and have an assistant help lift it completely off.
- Once removed, place the slate on a padded surface to avoid damage.
- Check the table's frame for any remaining fasteners and unscrew them as necessary.
Reassembly Tips After Pool Table Disassembly
Identifying Components After Disassembly
After disassembly, make sure to identify all components you’ll need for reassembly:
- Refer to the labels you placed on each part to avoid confusion.
- Verify that all screws and hardware are accounted for before starting reassembly.
- Inspect the cloth and cushion to determine if replacements are needed.
Steps to Safely Reassemble
Follow these steps to ensure a safe and effective reassembly process:
- Begin with the table frame and securely tighten all bolts.
- Carefully place the slate back onto the frame, ensuring it is level.
- Reattach the rails, ensuring the cloth is tightly fitted and wrinkle-free.
- Install pockets and any other accessories last, checking alignment as you go.
Ensuring Stability and Leveling
Final checks are essential to guarantee the table's performance:
- Use a level to check the positioning of the slate and legs.
- Make adjustments to the feet of the table for a perfectly level surface.
- Conduct a test roll with a cue ball to assess smoothness and accuracy.
FAQs About Pool Table Disassembly
How long does it take to disassemble a pool table?
Typically, it takes 2-3 hours for a DIY disassembly, depending on your experience and tools available.
Can I disassemble a pool table alone?
While possible, it's highly recommended to have a partner. Slate pieces are heavy and can be cumbersome to handle alone.
What tools do I need for a pool table disassembly?
You’ll need a wrench, power drill, staple remover, pliers, and a rubber mallet to safely disassemble a pool table.
Are there any safety tips for pool table disassembly?
Yes! Always wear gloves, ensure your workspace is clear, and lift items properly to avoid injury.
How much does it cost to have a pool table disassembled?
Professional disassembly can range from $200 to $400, depending on your location and table size.